Using ExpanDrive with Brightspace WebDAV
A WebDAV connection in Brightspace lets you map your course storage as a network drive to upload, edit, organize, and transfer large batches of course files directly from your computer desktop. You can create a WebDAV entry for each of your Brightspace courses.
To set up the WebDAV connection, you will need to get some information from your Brightspace course. Go to your Brightspace course, click Course Admin in the course nav bar, and then select Course Offering Information.
On the Course Offering Information page, the information you require is the Course Offering Path value.
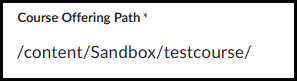
Using the Course Offering Path information from above, prefix it with https://cdlidav.brightspace.com to generate the URL, which will be used in the WebDAV connection setup in ExpanDrive. In the above example, the resulting URL will be:
https://cdlidav.brightspace.com/content/Sandbox/testcourse
Now, you’re ready to add the WebDAV connection to the ExpanDrive application.
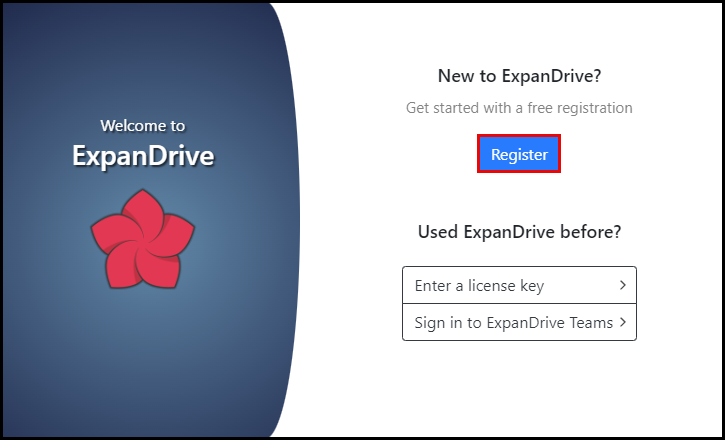
The first time you launch ExpanDrive, you will need to complete the free registration.
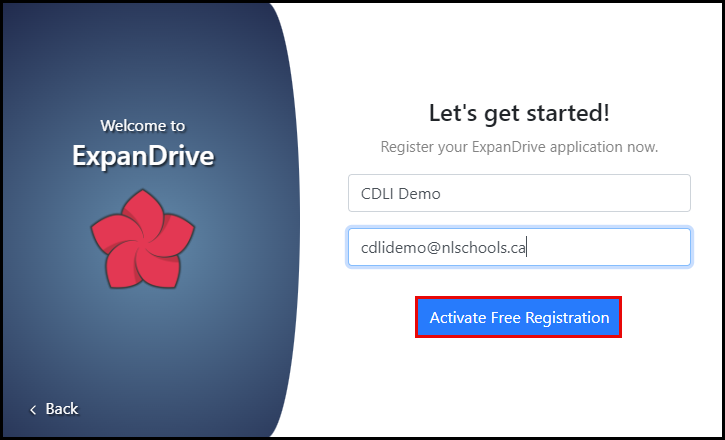
Enter your name and NLSchools email address. Then, click the Activate Free Registration button.
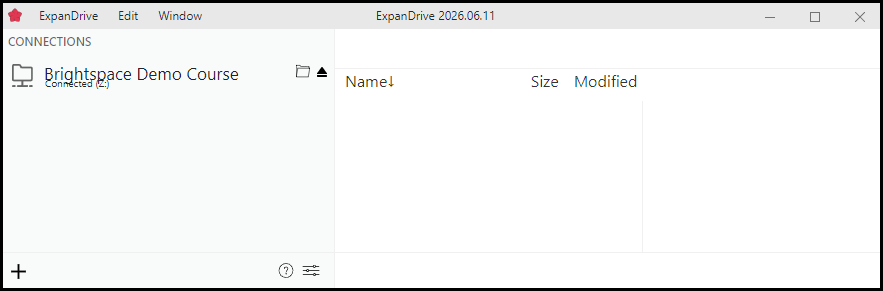
On the ExpanDrive window, click the + in the bottom-left corner to create a new connection. Then, click the WebDAV icon.
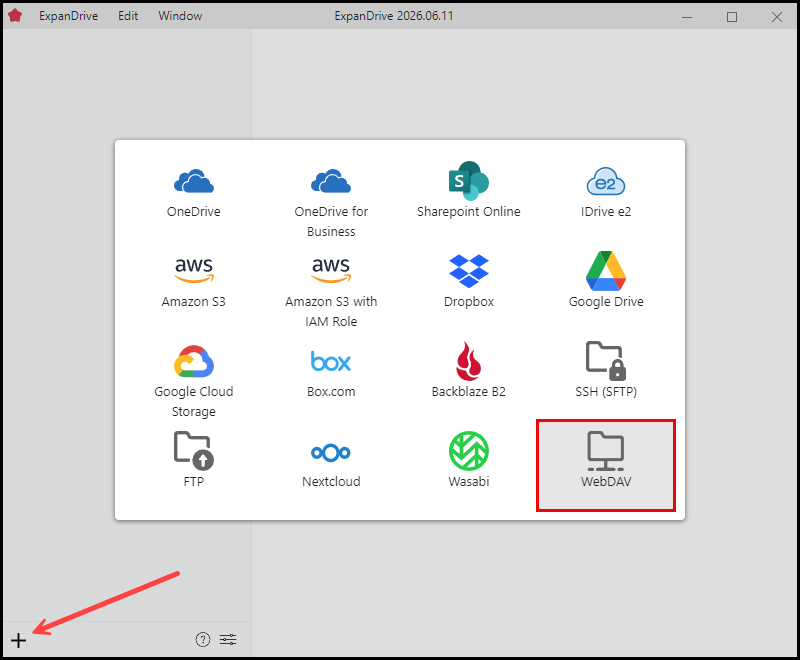
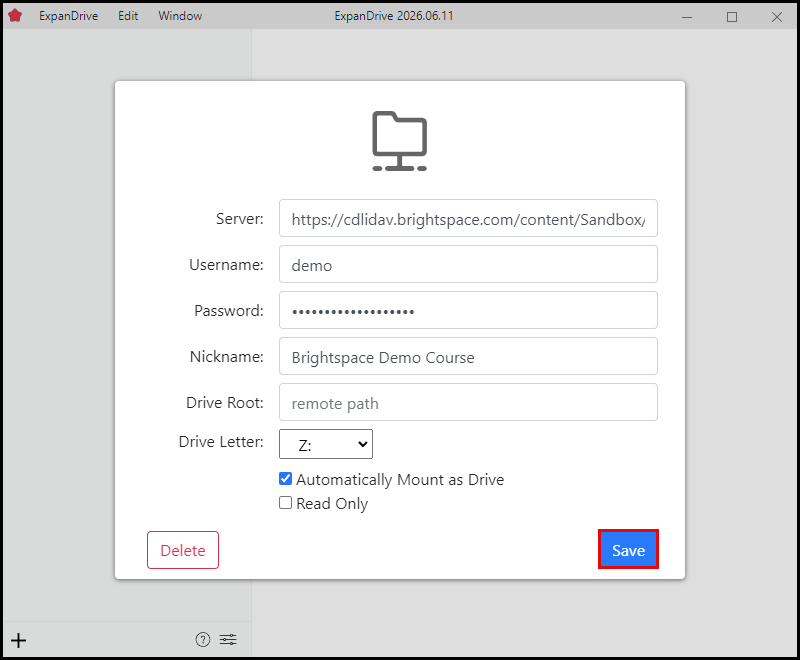
Enter the information in each of the fields. The Server field would be the WebDAV URL that you created in the steps above. The Username and Password are your CDLI Portal login details. The Nickname field is the label you see in Windows File Explorer for the drive letter. Leave the Drive Root entry blank and select any unused Drive Letter for this course. Ensure Automatically Mount as Drive is checked and Read Only is unchecked. Click Save when done.
You can now maintain your course files and folders between your computer and Brightspace.