Help Centre » CDLI Teacher » Brightspace » Photo Banner Widget
Photo Banner Widget
The Photo Banner widget is a customizable, course-level widget that displays uploaded images in a carousel. Instructors can upload images and add a link to the carousel, as well as customize the background styling of the widget.
Add images to Photo Banner
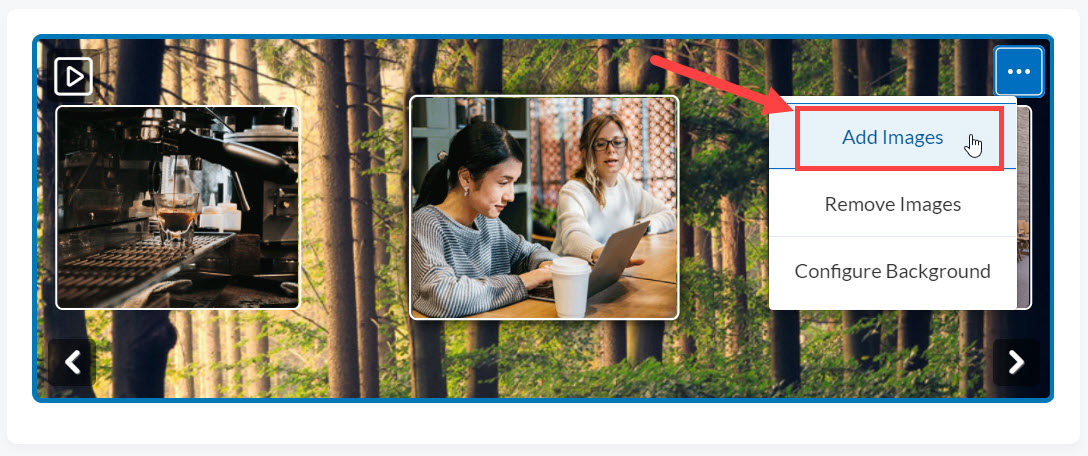
- In the Photo Banner widget, click the Admin Tools menu > Add Images.
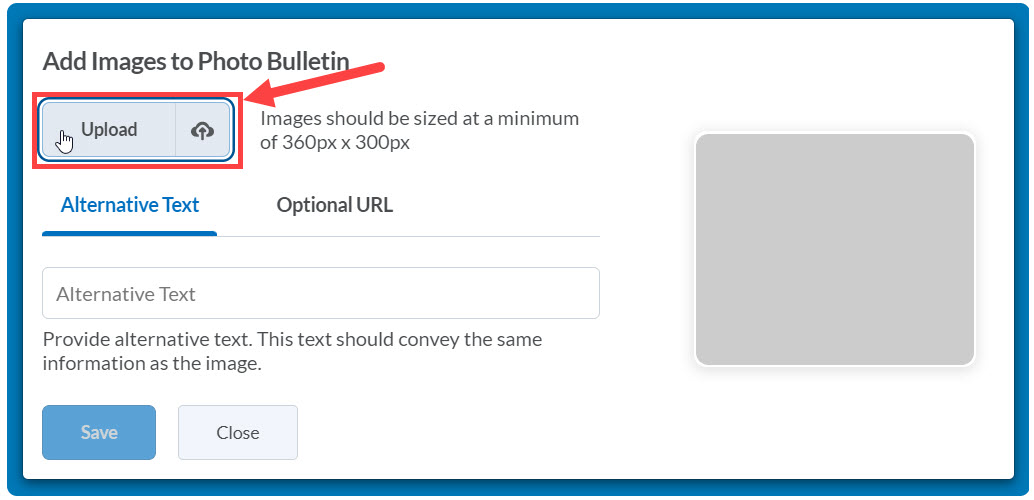
- Click Upload, select the image you want, then click Open. The added image appears in the preview section.
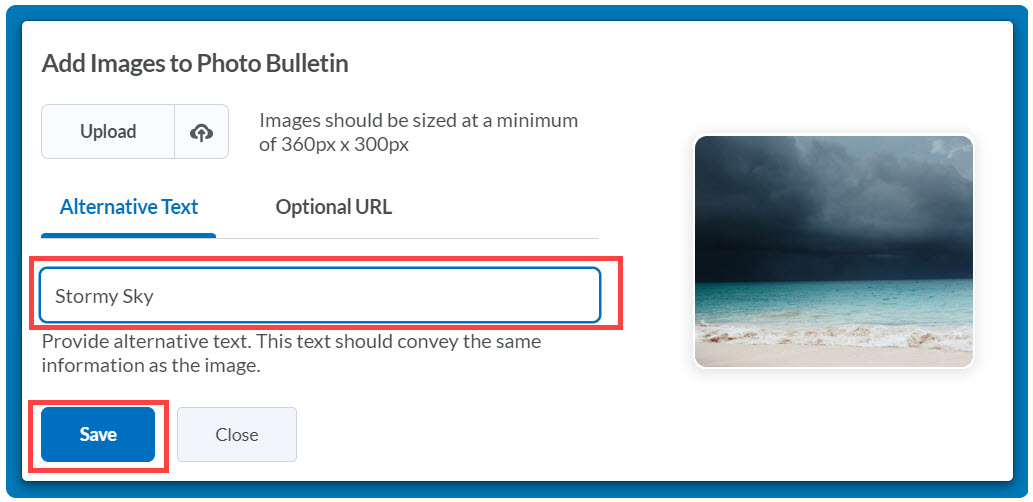
- Add text to describe the image in the Alternative Text field. This provides text used for accessibility tools such as screen-readers.
- Click Save.
Add a URL to Photo Banner
You can add a URL to appear below the images in the widget. A small icon appears in the corner of images with an associated URL as well.
- In the Photo Banner widget, click the Admin Tools menu > Add Images.
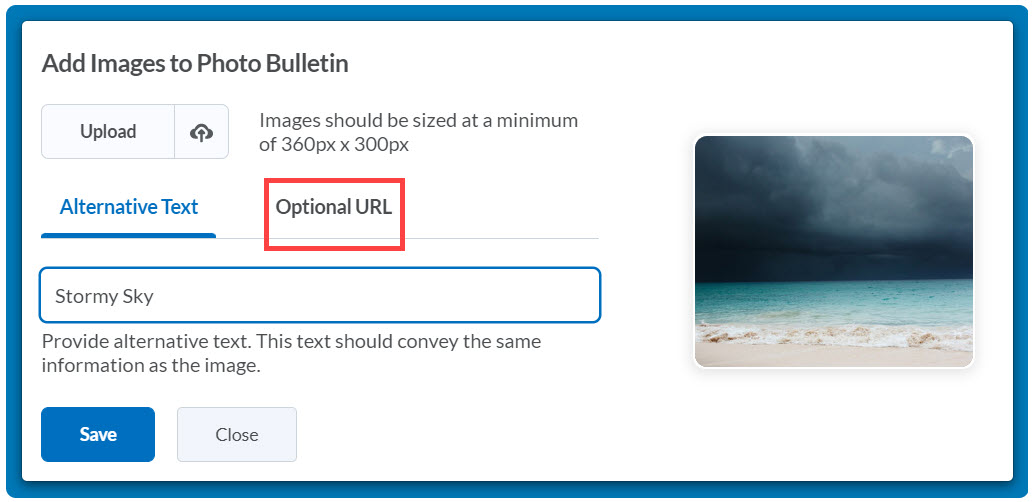
- Click Optional URL.
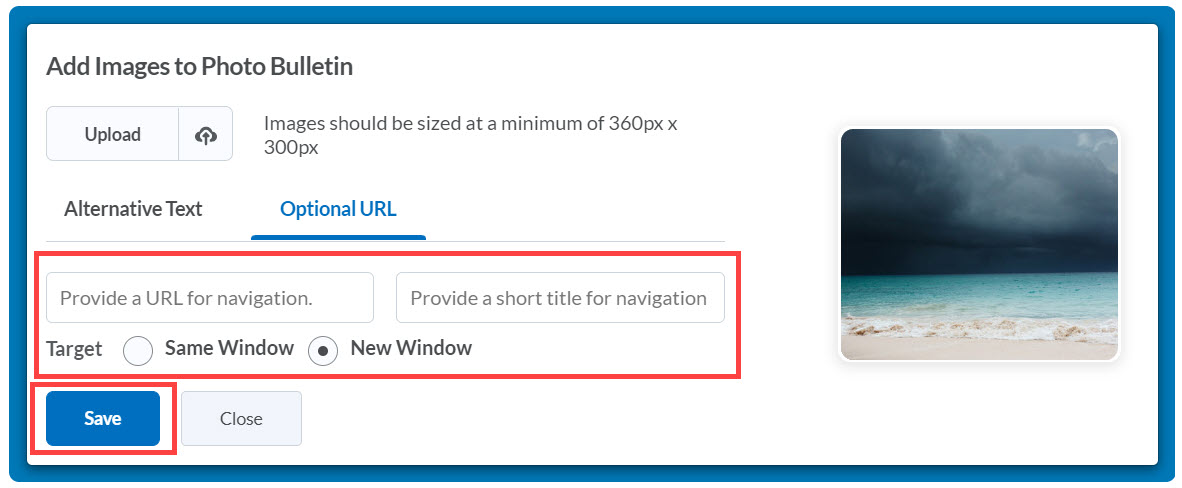
- Enter the Optional URL and a Short Link Name in the fields. Select the Same Frame or the New Window Target option to set how the link redirects the user when clicked.
- Click Save.
Remove images from Photo Banner
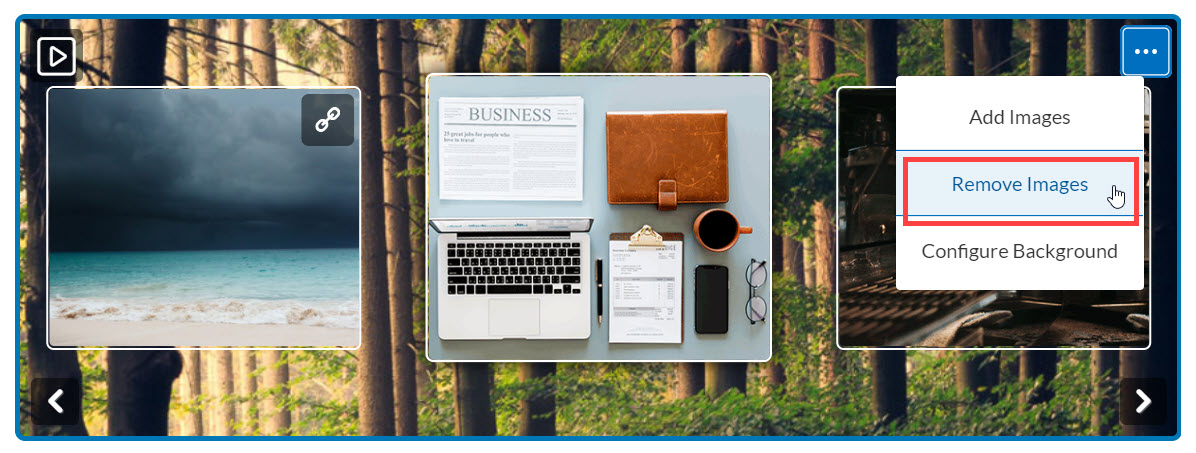
- In the Photo Banner widget, click the Admin Tools menu > Remove Images.
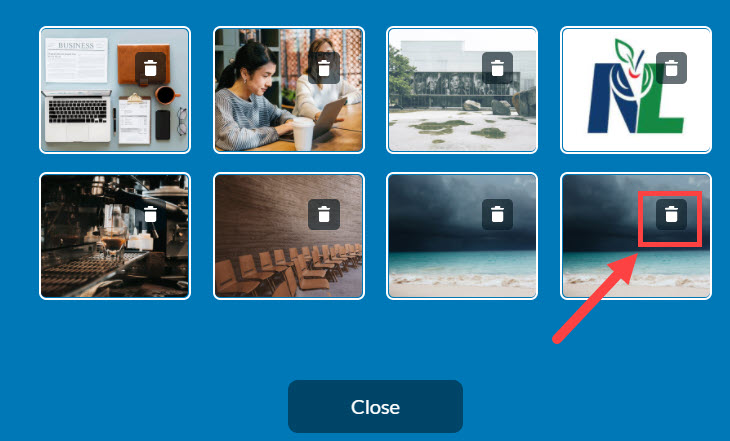
- Locate the image that you want to remove. Click Delete.
- Click Yes.
- When you are done removing images, click Cancel editing to close the tool.

Configure background settings
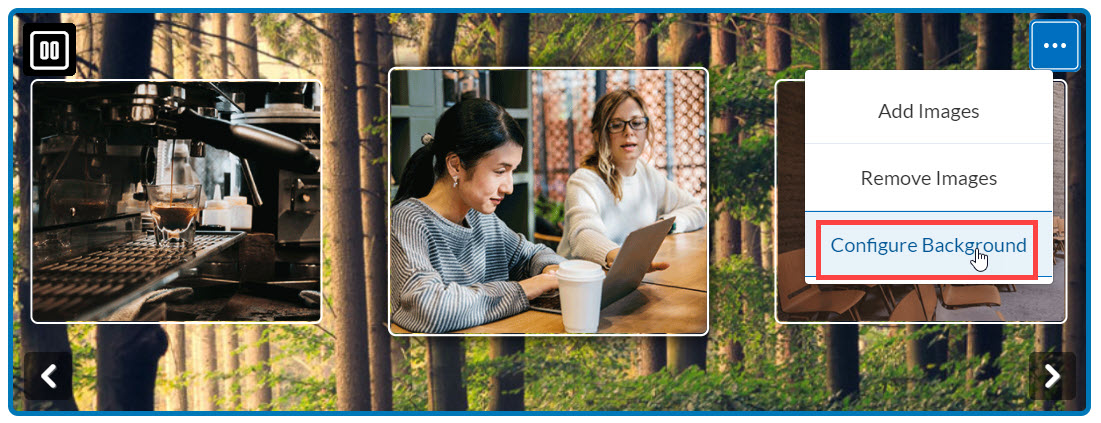
- In the Photo Banner widget, click the Admin Tools menu > Configure Background.
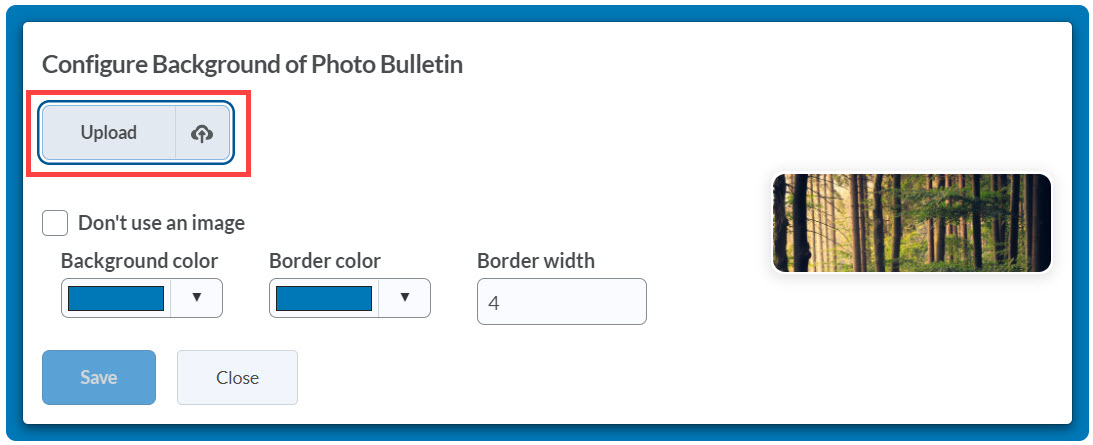
- Do one of the following:
- If you want to use a background image, click Upload. Select the image you want to use. Click Open.
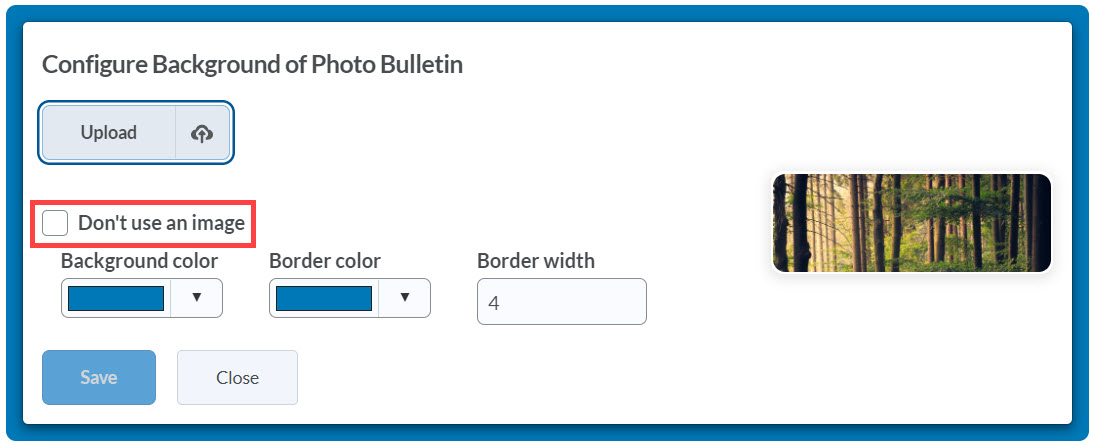
- If you do not want to use a background image, select the Don’t use an image check box.
- Select the Background color and Border color selectors to change the color styles.
- Set the Border width of up to 10 pixels.
- Click Save.