
Badges and Certificates
Brightspace now has an Awards tool that enables instructors to provide merit based awards to students.
There are two types of awards:
- Badges
- Certificates
These are awarded based on criteria determined by the instructor. These can be awarded:
- Manually by the instructor
- Automatically based on release conditions set by the instructor
Badges are meant to provide digital markers that represent accomplishment throughout a course or program. They are connected to a student’s profile.
Certificates include a PDF that users can print. They are typically used as an official statement for a milestone completed, such as the end of a program or practical exam.
Create a New Award
- Within the course, click Assessments on the navbar, then click Awards.
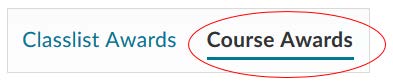
- Click Course Awards
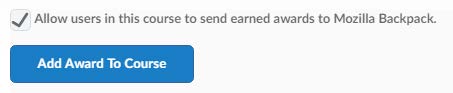
- Click the Add Award to Course button.
- Click the Create Award button.
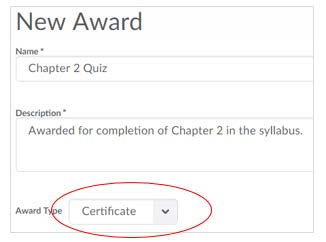
- Enter Name and Description for the new award, i.e. Exam 1 Completion.
- Click the drop down box in Award Type. Select either Badge or a Certificate.
Create a Badge
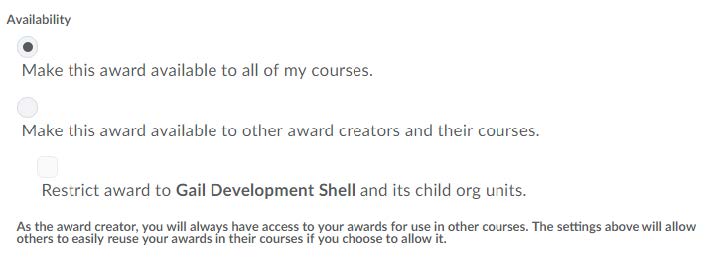
- Choose Badge as the Award Type and click Make this award available to all of my courses. You can also share it with others who may be teaching a course from your shell or restrict it to this specific course.
- Select the Expiry choice Never to allow the student to keep the award for future use. You can also make your award to expire on a fixed date or a relative time after the award is achieved.
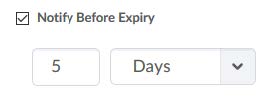
- If you choose a Fixed Date, check the box for Notify Before Expiry, if you desire.
- Go to the Choose Award Image* and click From Existing Library. You also have the ability to Upload a New Icon from your computer or Create your own award image, if you desire.
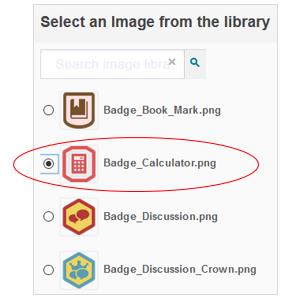
- Choose the Badge Design you want to use from the library and click Select.
- Type the Issuer Name, URL and Issuer Contact, as desired.
- Add a checkmark to the box, Use this award in …. If you are ready to use it now.
- Click Save.
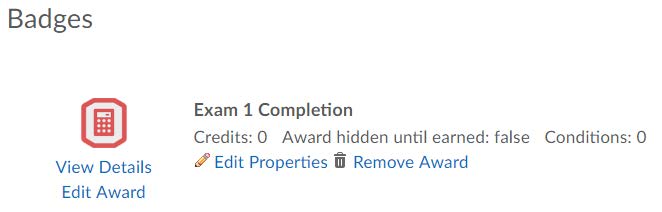
- Your new Badge will be pictured in your list of Badges, although there are no release conditions associated with it at this time.
Create a Certificate
- Go back to Course Awards and click Add Award to Course.
- Click Create Award.
- Type a Name and Description for your award.
- Now click Certificate in the Award Type.
- Choose your Availability and Expiry selections as described before.
- Scroll down to Choose Award Image to choose the image icon that will appear for this certificate.
- Click From Existing Library.
- Choose an image from the library and click Select.
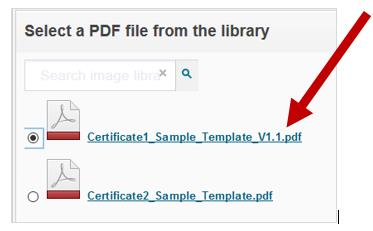
- Scroll down to Choose Certificate Template.
- Click From Existing Library.
- Click on the Certificate Sample Template links, as shown below, to preview the sample designs. You may also choose to Upload a New Template if desired.
Note: The uploaded template will need to be a PDF with fillable forms to work properly. - Choose the sample template you wish to use and click Select.
- Enter the Issuer Name, URL and Issuer Contact, as you desire.
- Check the box for Use this Award …. If you are ready to use it.
- Click Save. Your new Certificate will be listed in the Course Awards.
Add a Release Condition to an Award
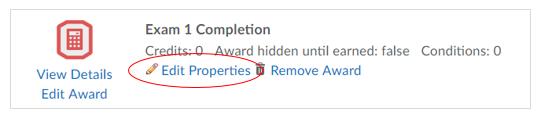
- Click on Assessments on the navbar, then click on Awards.
- Click on Edit Properties to add a release condition.
- Add the Credits awarded for this award, if desired.
- Click the box Award hidden until earned to hide your award and its release conditions.
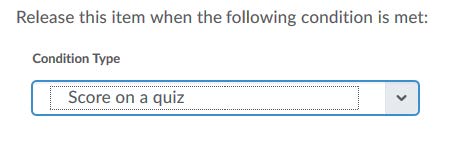
- Click the Create button below Release Conditions and a list of release conditions are available from the Condition Type box.
- Choose the Condition Type, such as Quizzes, and then Score on a quiz.
- Assign the Condition Details to the proper item, such as Quiz Test 1.
NOTE: The Quiz, Assignment, Discussion, etc. must be created to add this condition.
- Choose your scoring criteria, such as Greater than or Equal to sign.
- Establish your minimum grade to award the badge for, such as 90%.
- Click Create, when you have the conditions set as desired.
- Review the Release Conditions you have set and click Save.


Add an Existing Award to a Course
Go to the course where you want to add an existing award.
When certificates and badges are available in a course, they appear under Course Awards.
- Within the course, click Assessments on the navbar, then Awards.
- Click Course Awards to view the awards available for this course.

- Click Add Award to Course.
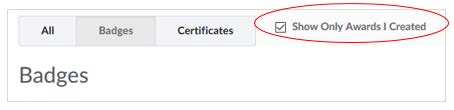
- You can filter the list by clicking Show only Awards I Created.
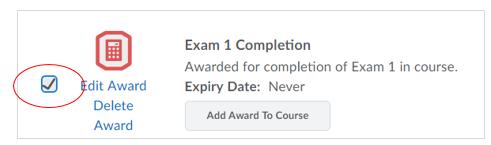
- Check the box next to the award and click Add Award to Course.
View Awards Earned by your Class
- Click Classlist Awards on the Awards homepage. You will see your list of students and the awards they have earned.
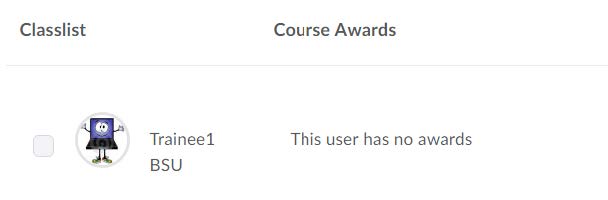
- Click All to view all Badges and Certificates awarded or click Badges or Certificates to filter the awards that appear in the list.
- Select the Award Leaders Descending drop down box, to sort the order of the list.

- Review the Classlist and associated Course Awards.
Manually Grant an Award
Badges and Certificates can be manually awarded, such as for a successful practical part of the quiz.
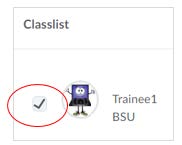
- Click Classlist Awards on the Awards homepage.
- Check the box in front of one or more learners in the Classlist to select them.
- Click the Issue button from above the list.
- Select an Award from the drop-down list, i.e. Chapter 2 Quiz.
- Enter a reason for granting the award in the Award Criteria field.
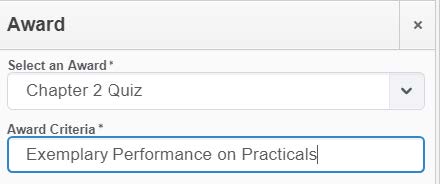
- Click Issue.
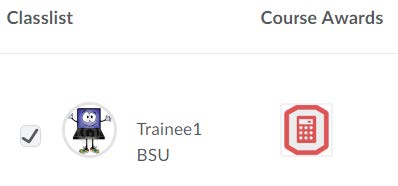
- The new awards will now be visible under Classlist Awards.
Revoke an Award
- Click on Classlist Awards on the Awards homepage.
- Click the box in front of one or more learners in the Classlist that you wish to revoke.
- Click Revoke.
- Select an Award from the drop-down list.
- Enter a reason for revoking the award in the Revoke Reason field.
- Click Revoke. Now this award has been removed.