Audio and Video setup
Once you are in a Blackboard Collaborate online class, the first thing you should do is check your audio. This is a good practice.
You must complete audio and video set up at least once before you can use them.
Some browsers need access to your microphone to play audio, even if you don't plan to speak. To hear others in the session, give the browser permission to access the microphone.
With your online session click the purple arrows in the right corner of your screen.

From here, select Audio and Video Settings.

Next, select "Set up your camera and microphone".

Select your microphone from the drop down list and complete the Audio Test. Click "Yes. Audio is working." when complete.

Next you will be asked for access to your camera.
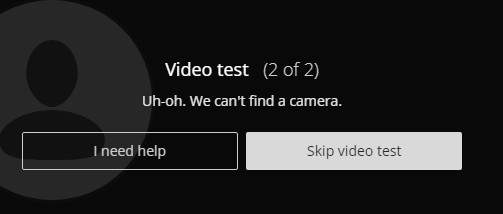
If you do not have a camera you will see the following screen. Click Skip video test.

If you do have a camera and wish if you wish to share your video, click Allow.

Choose your camera from the drop down list and then click "Yes. Video is working." when complete.

After you are set up, select the microphone and video camera icons any time during a meeting to turn them on or off. With your keyboard, press Alt + M to turn your microphone on and off. Press Alt + C to turn your camera on and off.
Collaborate remembers your choice. You don't have to do this again from the same device or browser, unless you clear your cache.

