
Learning Resources
Lesson
The Head
The head contains a title, enclosed between the codes <title> and </title>. The example page code below has 'Put your title here' as the title
<html>
<head>
<title>Put your title here</title>
</head><body>
</body></html>
The title is displayed in the top border of the browser when you open the page.
Figure Title shown in Browser
The Body
Except for the HTML code, everything in the body section is displayed in the browser. The HTML code is used by the browser to format the content.
Headings and Paragraphs
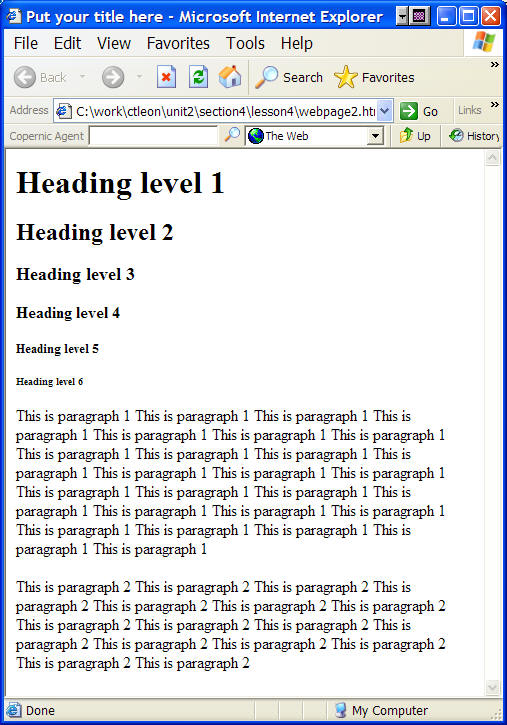
The sample below shows the typical HTML codes that may be used to format text. Codes are shown in red to separate them from the content and make them easier to see.
<html>
<head>
<title>Put your title here</title>
</head><body>
<h1>Heading level 1</h1>
<h2>Heading level 2</h2>
<h3>Heading level 3</h3>
<h4>Heading level 4</h4>
<h5>Heading level 5</h5>
<h6>Heading level 6</h1>
<p>This is paragraph 1 This is paragraph 1 This is paragraph 1 This is paragraph 1 This is paragraph 1 This is paragraph 1 This is paragraph 1 This is paragraph 1 This is paragraph 1 This is paragraph 1 This is paragraph 1 This is paragraph 1 This is paragraph 1 This is paragraph 1 This is paragraph 1 This is paragraph 1 This is paragraph 1 This is paragraph 1 This is paragraph 1 This is paragraph 1 This is paragraph 1 This is paragraph 1 This is paragraph 1 This is paragraph 1 This is paragraph 1 This is paragraph 1 </p>
<p>This is paragraph 2 This is paragraph 2 This is paragraph 2 This is paragraph 2 This is paragraph 2 This is paragraph 2 This is paragraph 2 This is paragraph 2 This is paragraph 2 This is paragraph 2 This is paragraph 2 This is paragraph 2 This is paragraph 2 This is paragraph 2 This is paragraph 2 This is paragraph 2 </p>
</body></html>
Here is what this looks like in a browser
Figure Typical HTML Page Codes
Font weight, style, and position
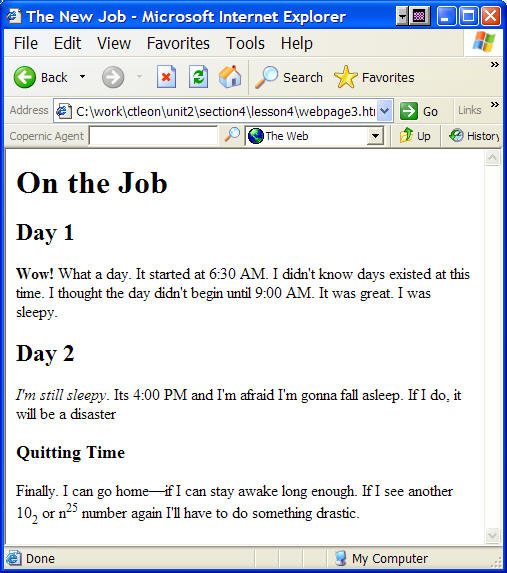
HTML codes may also be used to apply weight (ex. bold), style (ex. italics), or position (ex. superscript and subscript) to text. The normal method of coding these is shown below
- Bold <b> and </b>
- Italics <i> and </i>
- Superscript <sup> and </sup>
- Subscript <sub> and </sub>
Lesson 4 gives more details and other ways of doing it.
Adding these elements to a page would like like this. Only the new codes are in red.
<html>
<head>
<title>The New Job</title>
</head><body>
<h1>On the Job</h1>
<h2>Day 1</h2>
<p><b>Wow!</b> What a day. It started at 6:30 AM. I didn't know days existed at this time. I thought the day didn't begin until 9:00 AM. It was great. I was sleepy.</p>
<h2>Day 2</h2>
<p><i>I'm still sleepy</i>. Its 4:00 PM and I'm afraid I'm gonna fall asleep. If I do, it will be a disaster</p>
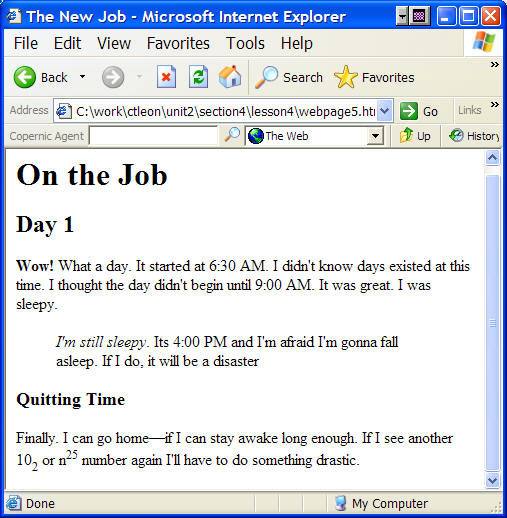
<h3>Quitting Time</h3>
<p>Finally. I can go home - if I can stay awake long enough. If I see another 10<sub>2</sub> or n<sup>25</sup> number again I'll have to do something drastic.</p>
</body></html>
The browser view of the document
Figure Text Decorations
Lists
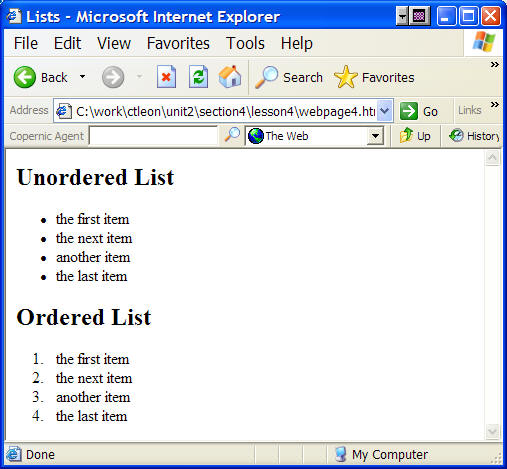
It is often necessary to organize information into lists. There are two types commonly used
- Ordered List. This is a numbered list and is enclosed between the codes <ol> and </ol>
- Unordered List. This is a bulleted list and is enclosed between the codes <ul> and </ul>
Making a list requires one more code. <li> tells the browser when an item starts, and </li> tells it when the item ends
Lists look like this in a text (html) file
<html>
<head>
<title>Lists</title>
</head><body>
<h2>Unordered List</h2><ul>
<li>the first item</li>
<li>the next item</li>
<li>another item</li>
<li>the last item</li>
</ul><h2>Ordered List</h2>
<ol>
<li>the first item</li>
<li>the next item</li>
<li>another item</li>
<li>the last item</li>
</ol>
</body></html>
The web page looks like this
Figure Unordered and Ordered Lists
Indents
You may have noticed that lists also cause the text to indent on the left side. You can also indent text without using lists. This is done with the <blockquote></blockquote> code. In fact, that is how things are indented on this page.
A sample of indent using blockquote on a page is shown next. Here is the code
<html>
<head>
<title>The New Job</title>
</head><body>
<h1>On the Job</h1>
<h2>Day 1</h2>
<p><b>Wow!</b> What a day. It started at 6:30 AM. I didn't know days existed at this time. I thought the day didn't begin until 9:00 AM. It was great. I was sleepy.</p>
<blockquote><i>I'm still sleepy</i>. Its 4:00 PM and I'm afraid I'm gonna fall asleep. If I do, it will be a disaster</blockquote>
<h3>Quitting Time</h3>
<p>Finally. I can go home - if I can stay awake long enough. If I see another 10<sub>2</sub> or n<sup>25</sup> number again I'll have to do something drastic.</p>
</body></html>
The web page is shown next
Figure Indent using Blockquote
Images
Since a web page is all text, images are not stored directly in the page. Images are saved as separate files. A piece of HTML code is placed in the page that tells the browser to include the image when it formats the page. It also gives the browser information about the size of the image and how the text around it should be formatted. The code for images is a bit more complicated than text codes, but is easy to understand
<img border="0" src="/resources/courses/ctecx104/unit02_org05_ilo02/dir/filename" width="nn" height="nn">
img tells the browser to put an image at this location
border="0" tells the browser that there is no box around the image. 1 would mean a box with a thickness of 1 pixel, and so on. If you don't use this information, the browser will default to a border of 1 pixel.
src="/resources/courses/ctecx104/unit02_org05_ilo02/dir/filename tells the browser to look in the directory and file name given here to find the image
width="nn" height="nn" tells the browser how wide and high the image is in pixels (numbers are used instead of "nn". While you don't have to use this information, the browser will load and show the image much faster if you do. When you place an image in a FrontPage page, it automatically puts this information in the page.
Here is an example of the image code. Notice that the second image is used twice, once with a border of 2 pixels, and once with no border. These images came from Microsoft's Design Gallery Live. New HTML codes are in red and comments are in green.
<html>
<head>
<title>The New Job</title>
</head><body>
<h1>On the Job</h1>
<h2>Day 1</h2>
<p><b>Wow!</b> What a day. It started at 6:30 AM. I didn't know days existed at this time. I thought the day didn't begin until 9:00 AM. It was great. I was sleepy.</p>
<img border="0" src="j0302876(p).gif" width="128" height="128"> <!----- No border, image is in the same directory as the html document, it has a height of 128 pixels and a width of 128 pixels>
<img border="2" src="j0326634(p).gif" width="128" height="128">
<img border="0" src="j0326634(p).gif" width="128" height="128">
</body></html>
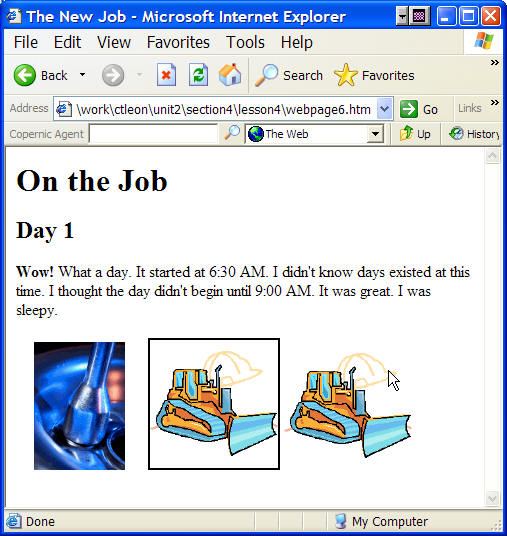
The page looks like this
Figure Images in a Web Page
You may have noticed that even though the images are on different lines in the code, the browser did not see any code to force a new line, so it displayed all the images on the same line.
Breaking a Line
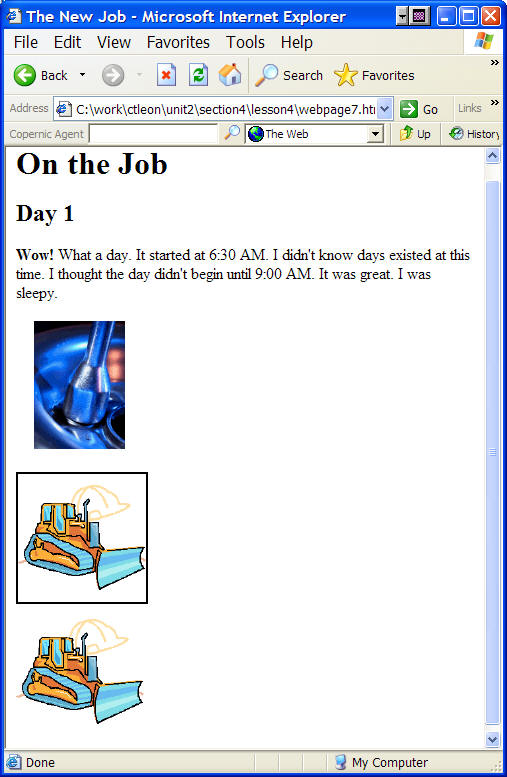
You are familiar with the <p></p> code. It starts a new paragraph and places a line between them. You can force a new line to start inside a paragraph by using the <br> code. It does not have an ending code.
Here is the same page code using <p> and <br> to move the images to a new line. The first image is enclosed in <p></p> code. A <br> separates the second and third images.
<html>
<head>
<title>The New Job</title>
</head><body>
<h1>On the Job</h1>
<h2>Day 1</h2>
<p><b>Wow!</b> What a day. It started at 6:30 AM. I didn't know days existed at this time. I thought the day didn't begin until 9:00 AM. It was great. I was sleepy.</p>
<p>
<img border="0" src="j0302876(p).gif" width="128" height="128">
</p>
<p><img border="2" src="j0326634(p).gif" width="128" height="128">
<br>
<img border="0" src="j0326634(p).gif" width="128" height="128"></p>
</body></html>
And here is the web page
Figure Web Page
For additional Information
You will find additional information concerning web page formatting at these locations
- HTML Mini Tutorials Click the link at the bottom of the page to go to the next mini chapter
- Another The Anatomy of a Web Page Scroll down the page for content. Note that this page covers many more HTML codes than are used in this lesson.
- Yet another The Anatomy of a Web Page. A completely different kind of discussion
Activity
Assigned activities
The purpose of this activity is to develop understanding of the structure of web pages and how web browsers format pages.
This activity will require the use of Microsoft Notepad. It should be in Start, Programs, Accessories. If you can't find it go to Start, Run, and type Notepad and press the Enter key
To complete these activities you will need to save the following files to your computer (right-click on each one and select Save Target As). The text file is from Alice in Wonderland at Project Gutenberg, and the images are from Microsoft's Design Gallery Live
Complete each of the following
- Make sure that the files you saved are all in the same folder
- Open Notepad
- Open the text file
- Type in the HTML codes to format the text. Use the previous lesson as a guide.
- Save the file as u2s5l2-act.htm in the same folder as the rest of the files you saved (you will have to use File, Save As). Be sure to use the .htm extension
- Decide which images you want to use, and where you want them on the page and type the code. (you can copy it from the lesson and edit it)
- Save the page
- Open your browser. Open the page (File, Open Page, and Browse to the proper folder)
- Make sure that what you see is what you wanted. If not go back to Notepad and make the fixes and save the file again. Refresh your browser window.
- Repeat until you are satisfied.
- Make an entry in your course portfolio (be sure to import the htm page and the images into the same folder)
- Publish to your course portfolio site
Test Yourself
There is no self test for this lesson.