
FAQ: How do I scan a document?
Video Tutorial - Scanning using PaperPort Software
How to Scan a Document
Ensure you are using a Brother MFC Printer (8460/8480)
If you are using the Automatic Document Feeder (ADF), place your document(s) face up. Otherwise, each page should be placed face down on the flatbed.
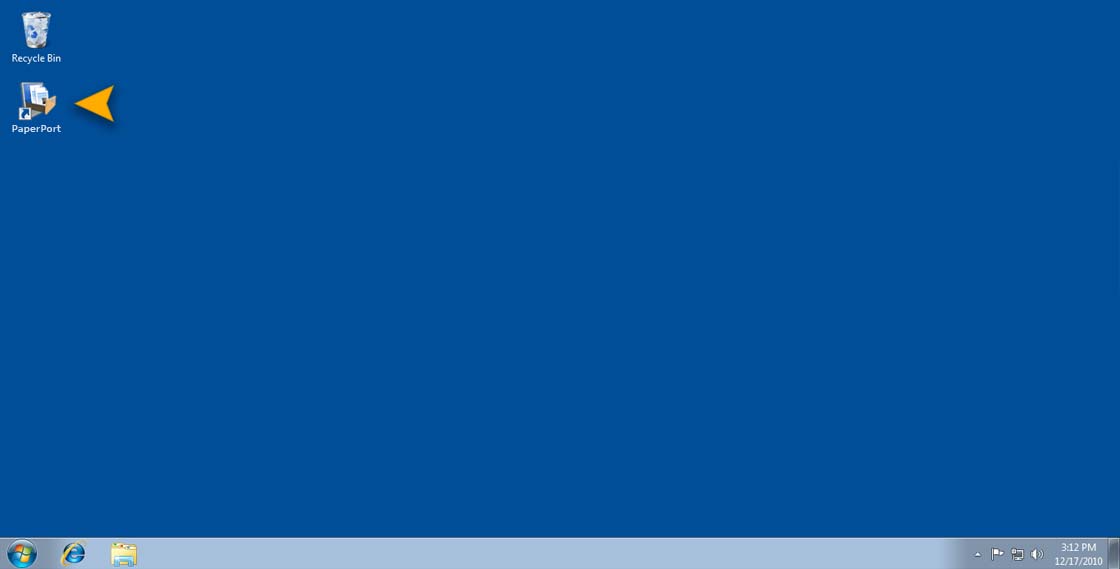
Double-click the PaperPort icon from your computer desktop.
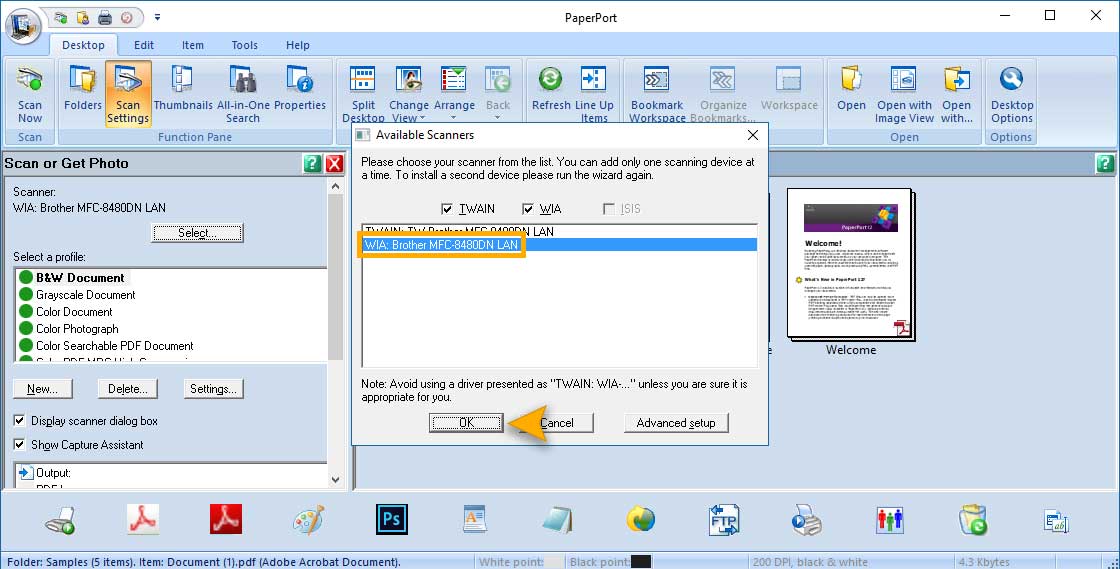
Ensure that you have the correct Brother scanner selected.
If it is not correct, click Select to find your Brother scanner.

Choose the Brother scanner with the WIA prefix and click OK.
It is important that the selected scanner has the WIA prefix. In this example, the WIA-Brother MFC-8480DN LAN scanner is selected.
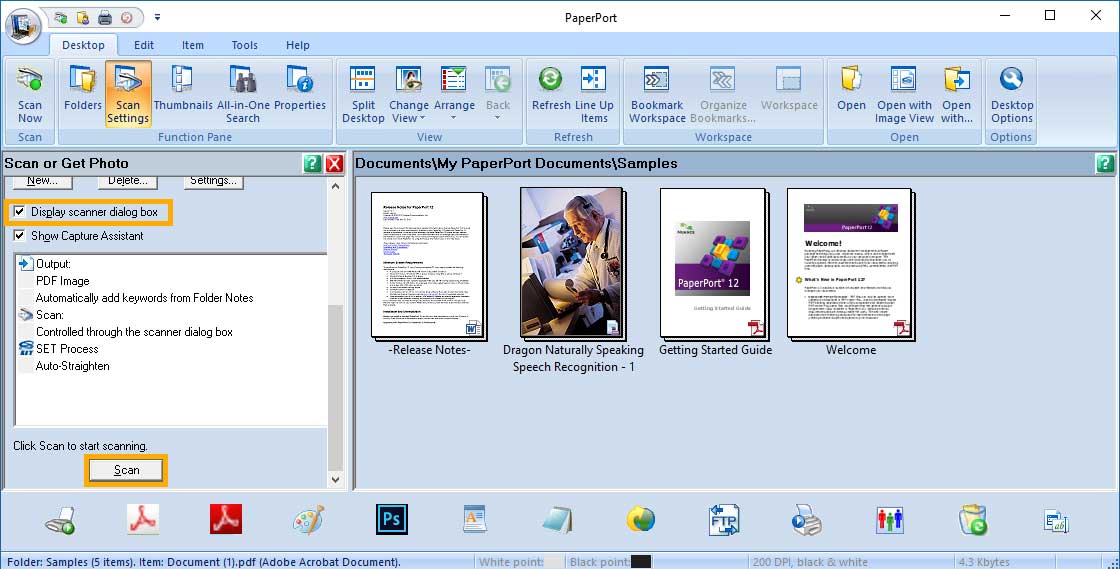
Ensure that you click on Scan Settings in the ribbon bar as illustrated below.
Check off Display scanner dialog box and click Scan.
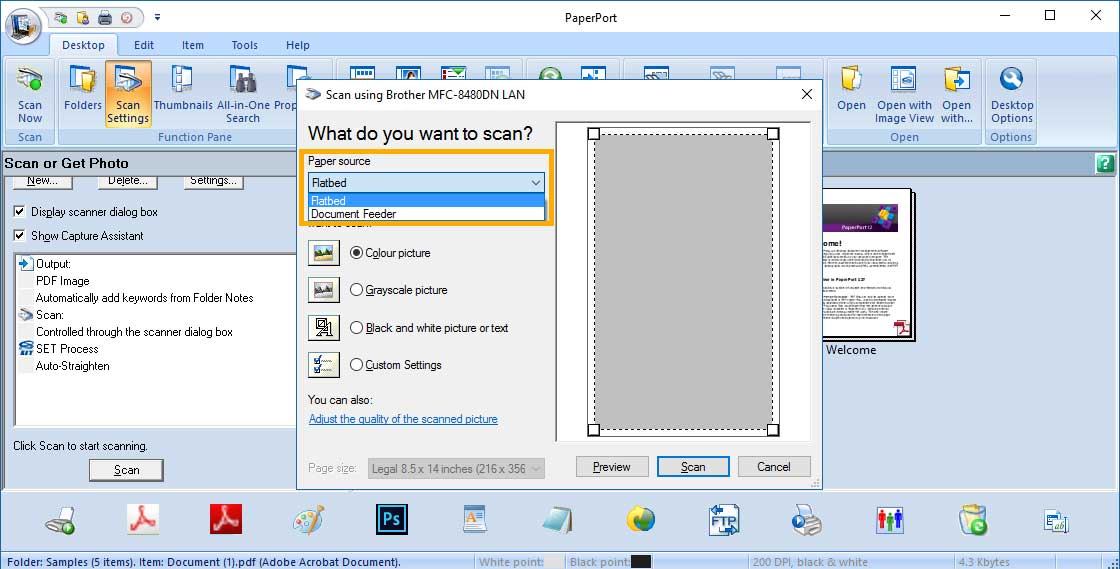
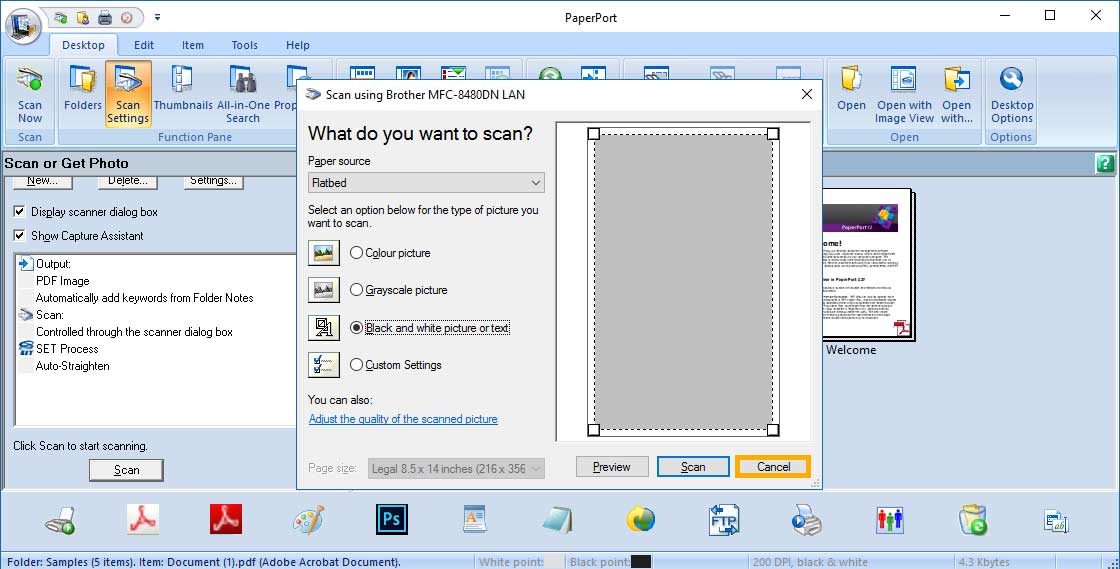
Select Flatbed or Document feeder under Paper source, depending on where you placed the document(s) that you are scanning.
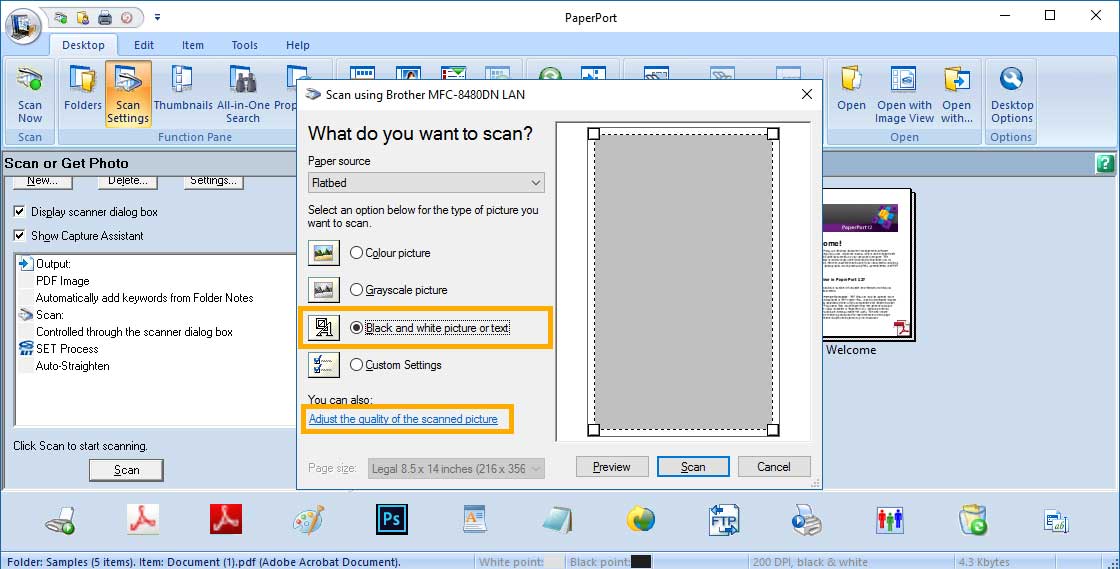
Ensure that Black and white picture or text is selected.
Then, click Adjust the quality of the scanner picture.
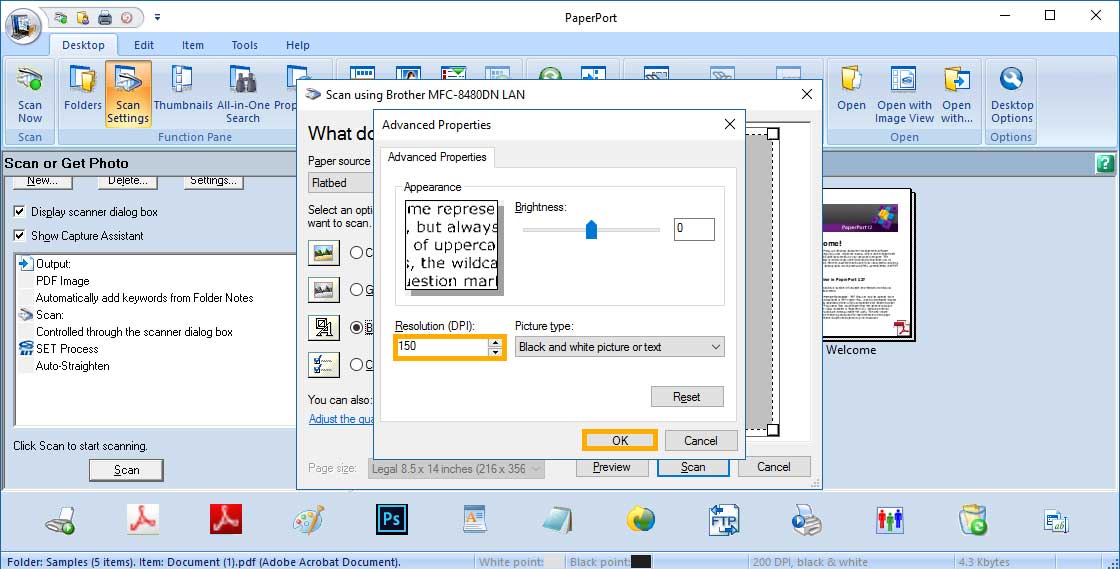
Set Resolution (DPI) to 150. Ensure Black and white picture or text is selected from the Picture type option. Click OK.
Click Scan to start the scanning process.
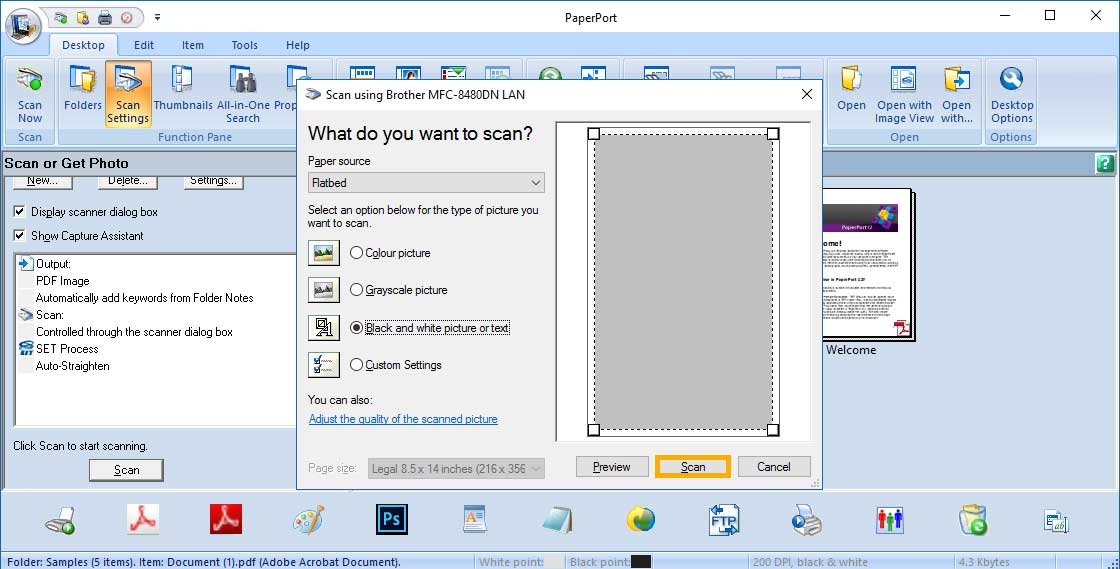
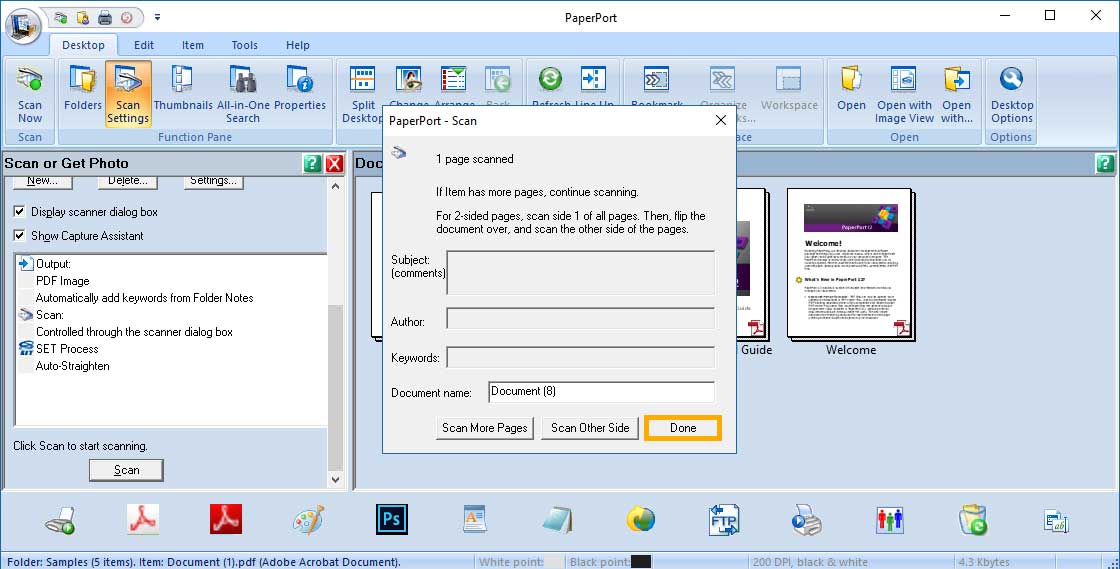
The document is fed through the Brother printer and the document is scanned.
The "What do you want to scan" page may appear again. If so, click Cancel.
Click Done.
The following screen will display with all scanned files appearing in the right-hand side. Double click the newly created document to open it.
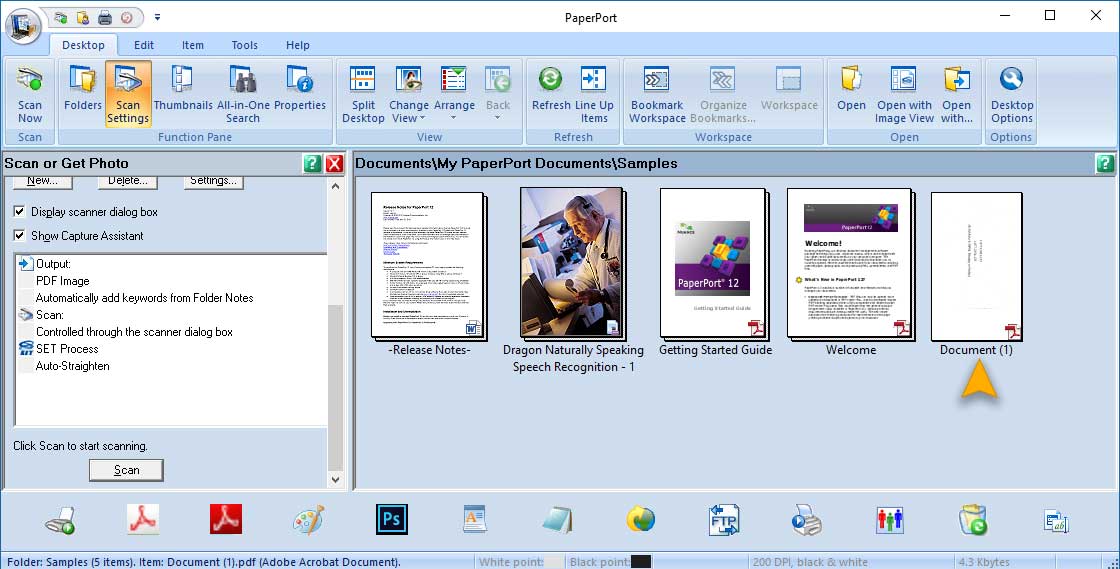
The document you scanned will open in the PDF Viewer.
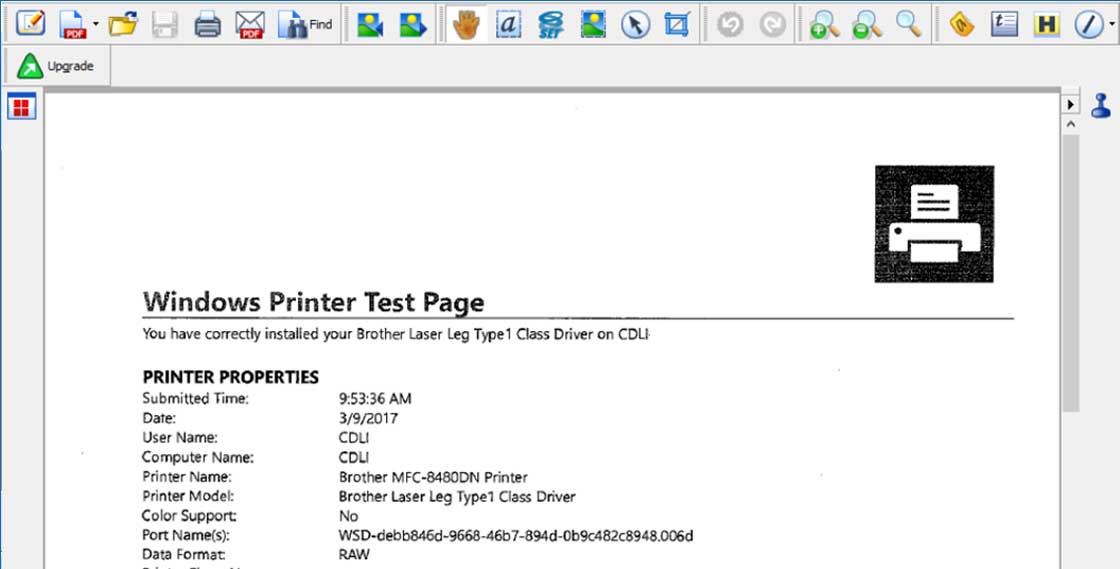
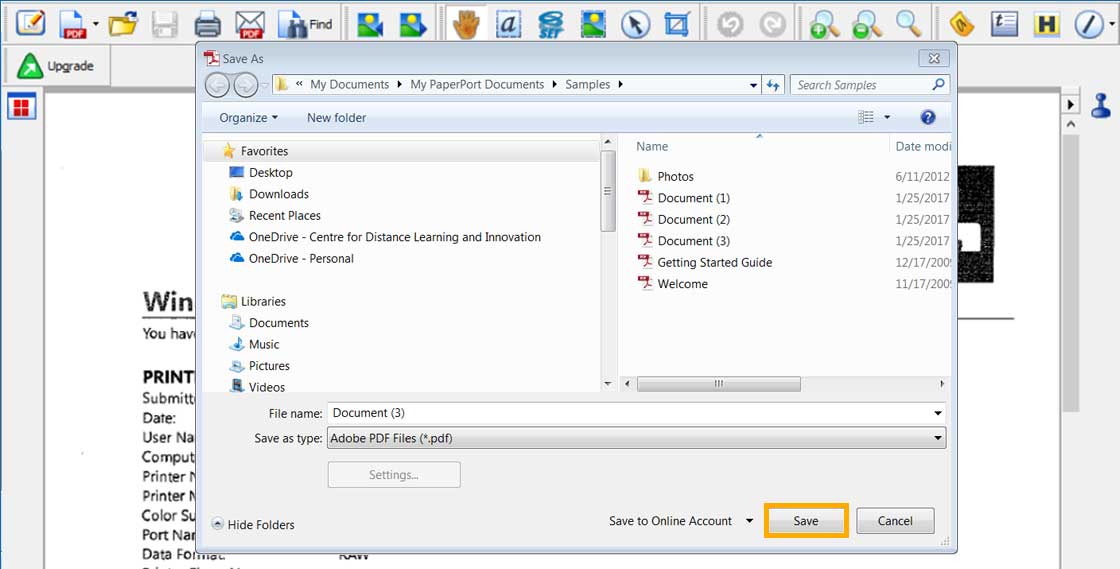
Select File -> Save As, select a location to save your scanned file and enter a filename in the File name field.
Select Adobe PDF Files in the Save as type list and click Save.
Your scanned document has now been saved.